Why You’ll Love This Espresso Recipe
If you’re a chocolate lover like me, this Espresso Chocolate Coffee Bliss recipe will quickly become your go-to treat.
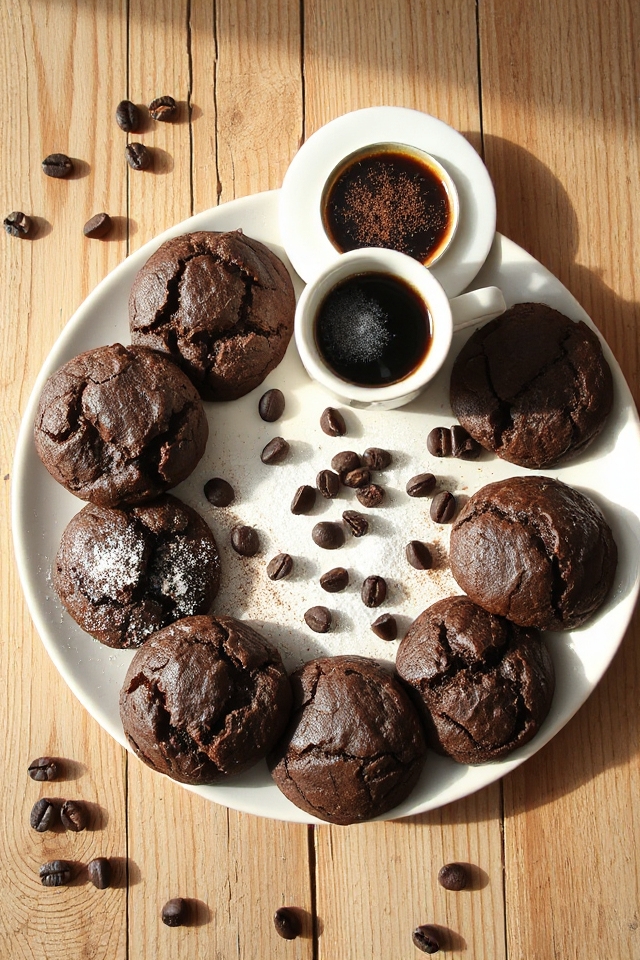
The rich, velvety chocolate paired with a kick of espresso creates a flavor explosion that’s simply irresistible. Each bite melts in your mouth, delivering a perfect balance of sweetness and depth.
Plus, the aroma of freshly baked cookies wafting through your kitchen is pure bliss. It’s not just about the taste; it’s about the experience of indulging in something that feels both decadent and comforting.
Trust me, once you try it, you won’t want to share—these cookies are too good!
Ingredients of Espresso
When it comes to baking something truly delightful, the ingredients you choose can make all the difference. For this Espresso Chocolate Coffee Bliss recipe, you’ll want to gather some high-quality chocolate and a few pantry staples that will come together to create a cookie experience like no other.
It’s like a warm hug from your oven, with all the rich flavors of chocolate and a hidden espresso kick that will have you coming back for seconds. Seriously, who can resist a cookie that’s both chewy and chocolaty, with just the right amount of coffee flavor to make it feel special?
So, let’s get to it and see what you’ll need to whip up a batch of these delicious cookies.
Ingredients
- 8 ounces bittersweet chocolate, chopped
- 5 ounces unsweetened chocolate, chopped
- 1/2 cup butter
- 1 3/4 cups sugar
- 4 eggs
- 3 tablespoons instant coffee
- 1/3 cup all-purpose flour
- 1/4 teaspoon baking powder
- 1/8 teaspoon salt
- 1 1/2 cups semi-sweet chocolate chips
Now, a quick note on these ingredients: quality matters. You don’t have to break the bank, but using good chocolate really elevates the flavor. Trust me, you’ll taste the difference.
And don’t skip the instant coffee; it’s what gives these cookies that magical coffee kick without being too overpowering. If you’re not a coffee fan, you can always reduce the amount or leave it out, but where’s the fun in that?
Just think of it as a secret ingredient that makes everyone go “wow” when they take a bite. Plus, the aroma of melting chocolate and coffee is enough to make anyone weak in the knees—so go on, gather your ingredients, and let’s make some cookie magic.
How to Make Espresso

Making these Espresso Chocolate Coffee Bliss cookies is like starting a delicious adventure. First things first, grab a medium saucepan and toss in 8 ounces of chopped bittersweet chocolate, 5 ounces of chopped unsweetened chocolate, and 1/2 cup of butter. Now, turn your heat to low and stir it all together until it melts into a smooth, glossy mixture. This part is like a magic show; just watch the chocolate transform before your eyes.
Once it’s all melted and looking dreamy, take it off the heat and let it cool for about 10 minutes. You want it to be warm but not so hot that it scrambles your eggs in a later step.
While that’s cooling, grab a large bowl and combine 1 3/4 cups of sugar, 4 eggs, and 3 tablespoons of instant coffee. Beat it all together with an electric mixer for a couple of minutes until it’s well mixed and the color lightens up a bit. Then, gently fold in your cooled chocolate mixture—it’s like inviting a new friend to the party.
In a separate small bowl, whisk together 1/3 cup of all-purpose flour, 1/4 teaspoon of baking powder, and 1/8 teaspoon of salt. Add this dry mix to your chocolate concoction and beat it again until everything is combined. Don’t forget to stir in 1 1/2 cups of semi-sweet chocolate chips; they’re the cherry on top of this already delectable dessert.
Now, cover that dough with some wax paper and let it hang out at room temperature for about 20 minutes. This little break is essential; it allows the dough to thicken, making your cookies chewy and fabulous.
While you wait, preheat your oven to 350°F and line your cookie sheets with parchment paper, silicone, or foil—whatever you have on hand. Once the dough is ready, scoop out 3 ounces of it per cookie (or use about 3 tablespoons if you don’t have a scoop) and place them about 2 inches apart on the sheets.
Bake those beauties for about 13 minutes. You’ll know they’re ready when the tops are set, and the cracks look dry. Just a heads up: don’t try cooking them in a cold oven unless you want a cookie disaster. Let them cool on the cookie sheet for a minute before transferring them to a wire rack.
And there you have it—cookies that will make you feel like a baking champion, even if you burned toast last week. Enjoy every bite!
Espresso Substitutions & Variations
While espresso adds a rich depth to the Espresso Chocolate Coffee Bliss cookies, there are plenty of ways to adapt the recipe to suit your taste or pantry.
If you don’t have espresso on hand, strong brewed coffee or instant coffee granules work well as substitutes. For a caffeine-free option, try using decaf coffee.
I also love experimenting with flavored coffee like hazelnut or vanilla for a twist. If you’re looking for a different flavor profile, consider adding a splash of almond or peppermint extract.
These substitutions can elevate your cookies while keeping that delicious chocolatey goodness intact!
What to Serve with Espresso
Have you ever wondered what pairs perfectly with a rich shot of espresso?
I’ve found that a few simple treats can elevate your espresso experience. A dark chocolate truffle, with its intense flavor, complements the bitterness of the coffee beautifully.
If you prefer something lighter, a buttery croissant or a delicate biscotti adds a delightful crunch.
For a more indulgent option, try a slice of flourless chocolate cake or a rich tiramisu. Each bite enhances the espresso’s depth, making your coffee break feel luxurious.
Additional Tips & Notes
To guarantee your Espresso Chocolate Coffee Bliss cookies turn out perfectly, it’s essential to pay attention to a few key details.
First, make sure your chocolate and butter mixture cools adequately before combining it with the eggs; this prevents unwanted cooking. I also recommend using high-quality chocolate for the best flavor.
When measuring your flour, be careful not to pack it down—lightly spoon it into your measuring cup instead.
Finally, don’t skip the resting time; it really helps the dough thicken for that perfect chewy texture. Trust me, these little adjustments make a big difference in your cookie experience!